Set up RDCMarkVision
Before starting, you need to set up RDCMarkVision according to your laser.
-
Set the home position of the laser
Click Set parameter in the pulldown-menu File or press F6 on keyboard to bring up the dialog.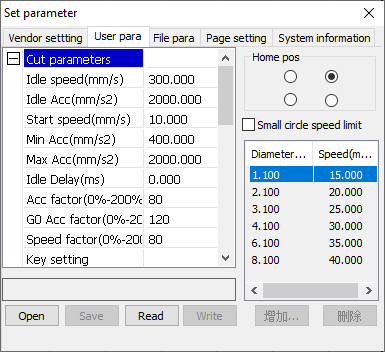
In the tab User para, the option Home pos must match the home position of your laser, otherwise, jobs will be in a wrong coordinate system, result in mirrored or flipped cuttings.
-
Set the size and unit of the draw area
In the tab Page setting, the size of the draw area should be the exact same as the work area of the laser.
If the size is not correct, there must be something wrong with the laser connection, refer to Set up the Laser Connection for more details.
NOTE
Exit and start RDCMarkVision again after setting up the laser connection to let the software read and update the settings by itself.
We recommend to keep the units in metric because there are still some daily used settings being kept in metric even you set the units to inch.
-
Change the vendor and user settings
We recommend to change the vendor and user settings in RDWorksV8 because you can only access a subset of the parameters in RDCMarkVision, refer to EagleWorks User’s Manual for more details.WARNING
NEVER EVER change any vendor and user settings without our instructions!