The Workflow
RDCMarkVision is the portal between your projects and the laser. We will go through the workflow in this section.
- Import artworks or create shapes.
- Prepare the cutting paths.
- Register marks.
- Set up matching.
- Set technology.
- Laser processing.
Import Artworks or Create Shapes
If you make designs in 3rd-party drawing software, e.g. Illustrator, CorelDRAW, AutoCAD, Photoshop, etc, just import them into RDCMarkVision, refer to Import Artworks for more details.

Or, you can create simple shapes directly in RDCMarkVision, i.e. lines, rectangles, circles, refer to Create Simple Shapes for more details.
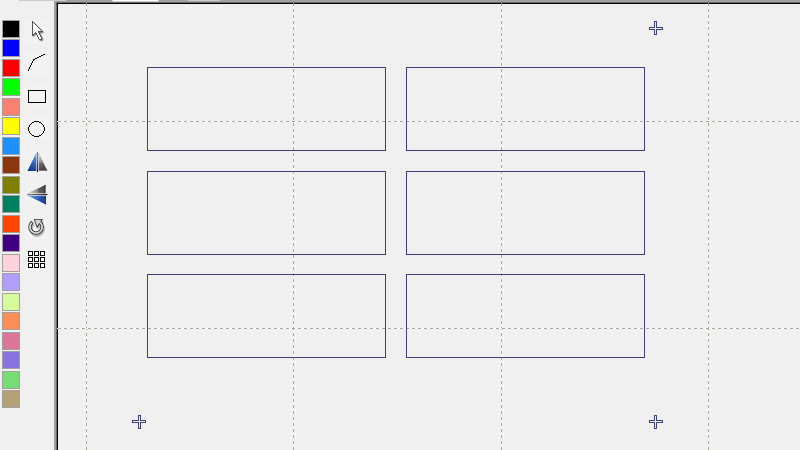
Prepare the Cutting Paths
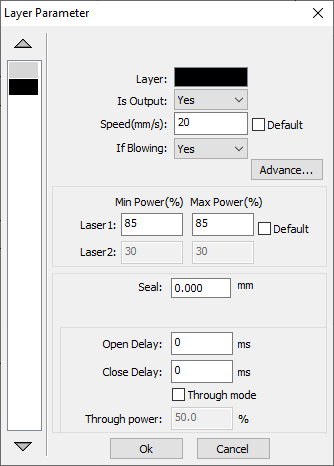
There are usually only a few shapes in the original design need to be cut, remove all the other shapes and get the cutting paths isolated. In general, you can set all the cutting paths to the same layer if they come in different colors, refer to Layers for more details.

Register Marks
Register marks and set up mark geometry, refer to Register Marks for more details.

Set up Matching
Set up and test matching parameters, refer to Matching for more details.

Set Technology
The job is ready after setting technology, including cutting parameters, processing sequence, etc, refer to Technology in RDCMarkVision for more details.

Laser Processing
Now you can start the job directly in the software, the laser will go to find the marks by the camera and get to know the exact position of the desired cutting paths then start cutting, refer to The Camera Positioning Cutting Control Process for more details.
